Which questions will we answer about background removal failures and export resolution, and why do they matter?
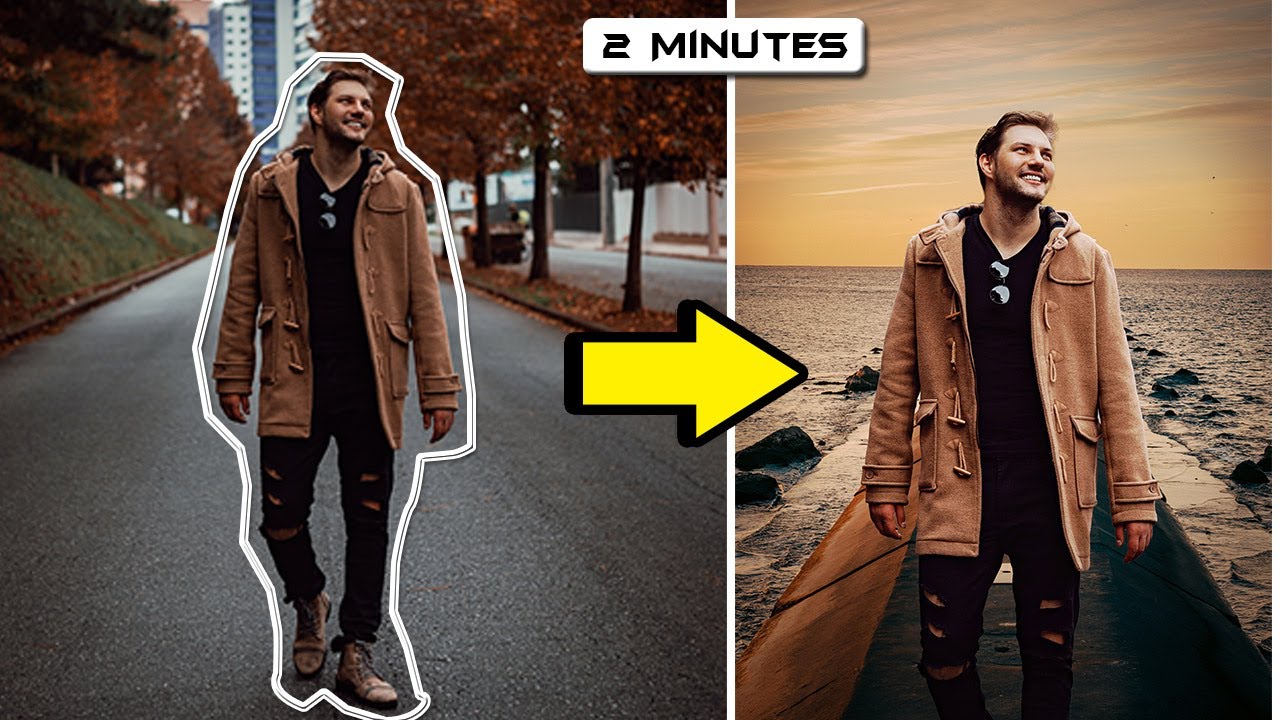
You’re background replacement tool here because a background-removal run went sideways: EzRemove spat out an image with a missing leg, and PhotoRoom’s free version surprised you with a 1280 by 1280 export. Those are not edge cases – they break workflows, cost time, and can tank a client delivery. We’ll walk through the practical questions every designer runs into when background removers mangle subjects or limit export quality.
- What exactly causes a missing limb in automatic removers?
- Is the tool to blame or did my workflow cause it?
- How do I fix a missing leg without starting over?
- Should I upgrade PhotoRoom for better exports, or try another tool?
- What can I do to future-proof this process so it doesn’t happen again?
Answering those gets you from “uh-oh” to “here’s a clean file” with as little fiddling as possible.
What exactly causes a missing leg in EzRemove results?
Short answer: the algorithm misidentified part of the subject as background and removed it. Long answer: automatic background removers use segmentation models that predict which pixels belong to the foreground. They can fail for reasons like motion blur, low contrast between subject and background, small or thin structures, overlapping elements, or aggressive post-processing that crops the subject tightly.
Real scenario
I once had a product shoot of a model sitting cross-legged on a patterned rug. The rug’s texture and the shadow under the knee confused the remover. The result looked like the model had part of a leg missing – not a clean edge, but a chunk gone. The model’s lower leg had similar tones to the background and a layer of shadow; the model’s knee was partially occluded by a hand. The algorithm opted to classify that whole region as background.
Other triggers:
- Thin or elongated parts – fingers, straps, legs – often get dropped.
- Subjects touching or overlapping complex backgrounds confuse edge detection.
- Low resolution originals provide fewer pixels for the segmentation model, increasing error risk.
- Auto cropping behavior that trims the canvas can clip limbs.
Is it the tool’s fault when parts are missing, or did I do something wrong?
Both can be true. Blaming the tool alone ignores how the image was shot and prepared, while insisting it’s user error overlooks real weaknesses in the model.
How to tell which side is responsible
In many workflows, a mix of factors causes the problem: a slightly underexposed lower leg, a patterned background, and an aggressive algorithm combine to produce the missing chunk.
How do I actually fix a missing leg in EzRemove output and avoid it next time?
Fixing it depends on what you have: the full-res original, the masked file, or just the flattened PNG. Here are practical, step-by-step options that work in studios and quick freelance jobs.
If you have the original + mask editor available
If you only have the flattened PNG
If you want a faster, more AI-forward fix
Use inpainting with a generative model (Photoshop Generative Fill, Stable Diffusion inpainting, or specialized tools). Mask the missing area and ask the model to fill with “leg in the same pose, consistent lighting.” That can work surprisingly well, but watch for anatomical errors or clothing mismatches. Always compare to the original for color and shadow.
How to avoid the problem in future shoots
- Shoot wider. Give subjects breathing room so auto-crop won’t sever limbs.
- Increase contrast between subject and background: different color, simpler texture, or rim lighting to separate edges.
- Use higher resolution where possible. More pixels = more accurate masks.
- Keep RAW files and avoid heavy compression before running background removal.
- Test your chosen remover on similar images before committing to a batch job.
Should I upgrade PhotoRoom, switch tools, or fix things manually?
It depends on scale, budget, and tolerance for manual work. I’ll break down scenarios so you can pick what matches your workflow.
When to stick with the free PhotoRoom (1280×1280)
- You’re doing social posts where 1280 square is fine.
- Speed matters more than pixel-level perfection.
- You plan minor manual touch-ups anyway and don’t need large-format exports.
When to upgrade PhotoRoom Pro or switch
- You need exports larger than 1280 square for print or high-res e-commerce images.
- You want batch processing with higher reliability and fewer manual fixes.
- You’re delivering to clients who expect top-quality edges and original-resolution exports.
Alternatives and when to use them
If PhotoRoom or EzRemove keeps failing, try:
- Remove.bg or Slazzer – often good at thin details like hair and limbs.
- Photoshop Remove Subject + Select and Mask – best when you want manual control.
- FocoClipping – strong edge preservation for product shots with complex textures.
- In-house mask refinement – export masks and hand-refine them in Photoshop or Affinity Photo for final delivery.
If budget isn’t an issue and you want ease of use, upgrade. If you prefer control, learn a short manual refinement routine – it saves time in the long run.
What improvements in background-removal tools and export resolution should I expect soon?
Model improvements continue at a brisk pace. Expect better handling of thin structures and more reliable inpainting integration, but also be ready for new quirks as models change. A few trends to watch:
- Better mask quality for complex edges – fewer dropped fingers or straps.
- Integrated inpainting that can fill clipped limbs by referencing surrounding pixels or multiple frames.
- More nuanced mobile exports – higher free-tier resolutions in some apps as competition grows.
- Faster batch processing with editable masks saved as assets for repeated workflows.
That said, no model will perfectly replace good capture technique. The single best investment is better source images.

How can I test future updates safely?
Tools and resources I actually use and recommend
Here’s a practical cheat sheet – names and when to pick them. I call out what I like and what drives me nuts so you can choose without sugar-coating.
More questions you might be thinking
- Can I automate mask refinement? Yes – save the mask, run a morphological expand/contract script, then use a smoothing filter. It won’t replace hand fixes but reduces time.
- Is upscaling 1280 to 4K safe? Upscaling can work, but edges may look soft. Use specialized upscalers and then refine edges in a high-pass layer.
- How do I convince a client to allow wider crop in shoots? Show before-and-after examples of clipping cost: lost retouch time, inconsistent assets, and extra client reviews. Visual proof works better than theory.
Final practical checklist before running an automated removal
That missing leg moment is annoying, but it is fixable without sacrificing your schedule. For a deeper look at how incentives and workflows can be disrupted by unexpected changes, see How Stake’s $100,000 Daily Race Upended Monthly Bonus Calculations: A Skeptical Insider’s Breakdown. Learn the signs – poor contrast, thin structures, auto-crop – and build a short validation step into your workflow. When in doubt, shoot wider and keep the RAW. The tools will keep getting better, but the safest path is better capture plus a simple mask-refinement habit.